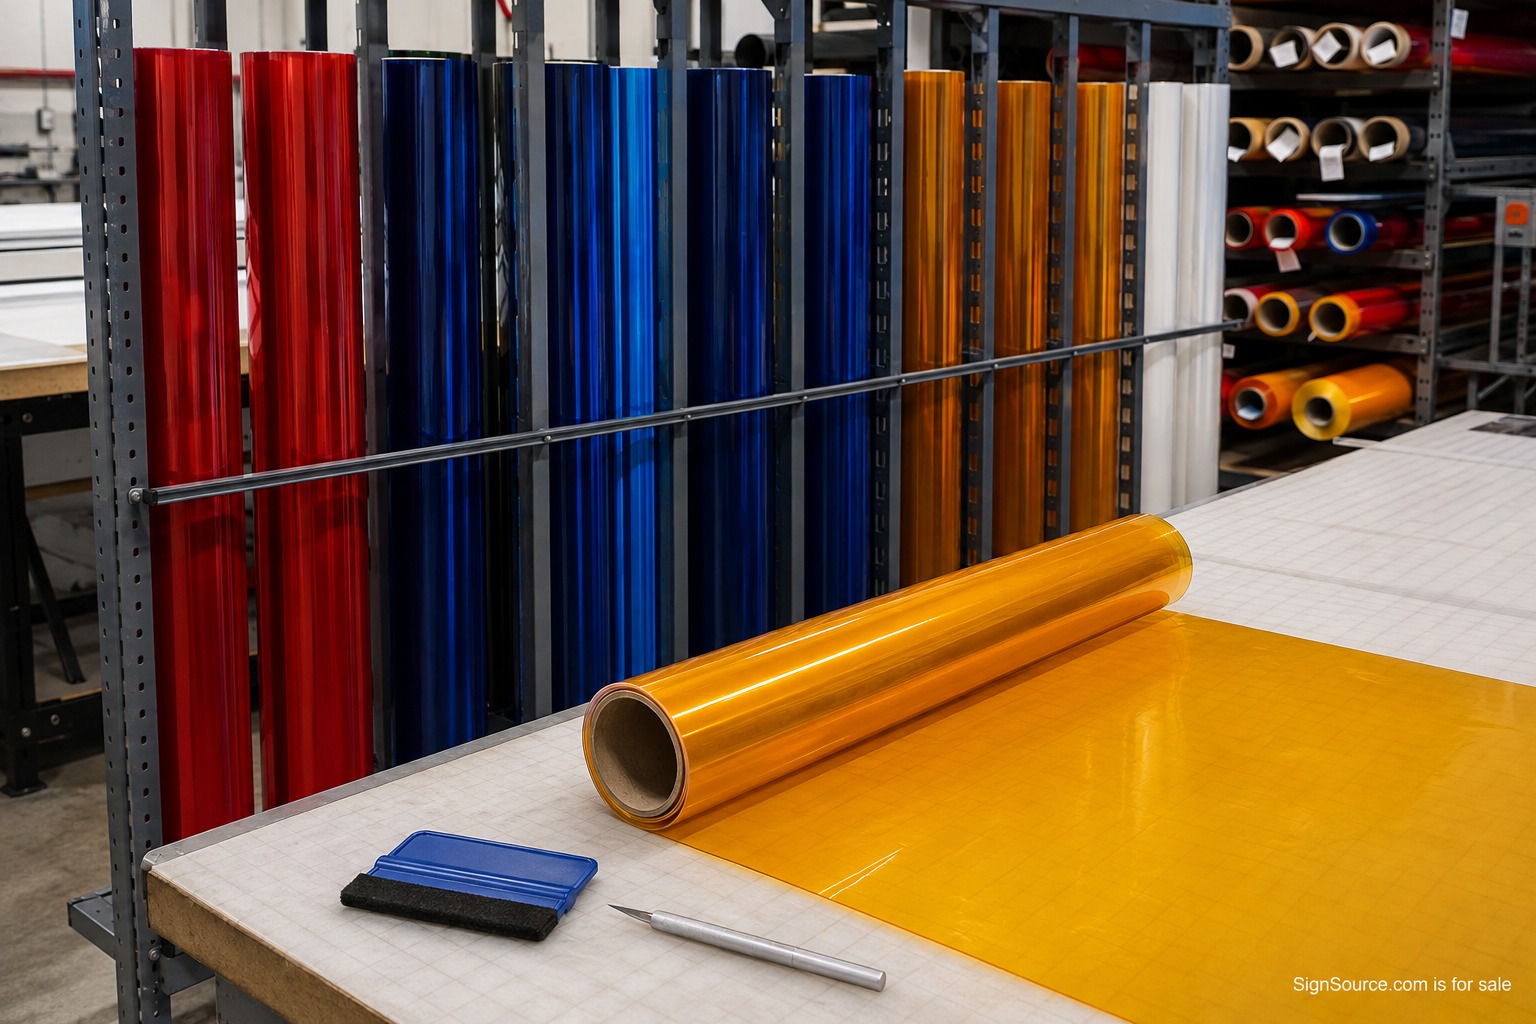
Translucent vinyl for illuminated faces has to work in two lighting conditions. In daylight, the film carries brand color and surface finish. At night, the light source, substrate, adhesive, film, overlaps, seams, and any printed layer combine into a second appearance. A good specification defines that complete build, not merely a color name. It also gives the shop an approved physical sample to compare during production.
Begin with the intended film family
3M Scotchcal Translucent Graphic Film Series 3630 is a common reference point for cut graphics and internally illuminated sign faces. The manufacturer’s 3630 product information should be the first source for current application, substrate, processing, and warranty details. Record the exact film code and color. “Red translucent vinyl” is not precise enough for a repeat order or a multi-location identity program.
Confirm whether the job uses a plotter film, a printable translucent film, a colored overlaminate, or a layered system. Product names that sound similar may be designed for different imaging and application methods. A distributor listing for 3M IJ3630 from SignWarehouse provides useful purchasing context, but the shop still needs the current technical bulletin for the exact construction and ink system being proposed.
Define first surface or second surface
First-surface film sits on the viewing face of the acrylic or polycarbonate. It is straightforward to apply and service, yet it is directly exposed to cleaning, weather, and handling. Second-surface film is applied to the rear of a clear substrate and viewed through it. The substrate can protect the graphic, while its thickness, gloss, tint, and reflections become part of the appearance. The correct orientation of the graphic must be explicit in files and work orders.
A white translucent substrate with first-surface film behaves differently from clear acrylic with second-surface color and a separate diffuser. List every layer in viewing order. Include substrate color and grade, film code, print mode, ink set, white ink or diffuser, overlaminate, and surface orientation. The shop should build a labeled sample using the production printer, profile, cure, and application method. A monitor proof cannot predict transmitted color.
Treat transmission as a stack
Each layer absorbs, reflects, scatters, or transmits light. Adding a second film to adjust color may reduce output and expose overlap lines. Printed density can vary with profile and pass count. A darker brand color may need greater light output or a different face construction, but increasing output can make module patterns more visible. The supplier overview from BCI Imaging Supplies is helpful for identifying film characteristics before the shop moves to a full test.
Measure or compare samples under the intended light source. LED spectral output affects color, so a sample approved over one module family may shift over another. Use the same face material, depth, module spacing, interior finish, and supply condition planned for production. Evaluate day color, night color, uniformity, hot spots, and the transition around film edges. Keep the approved sample protected and identify its build date.
Plan seams and overlaps
Roll width, face size, graphic shape, installation environment, and manufacturer instructions determine whether a seam is necessary and how it should be made. A careless overlap may become a dark stripe when illuminated. A butt seam may open or reveal alignment problems. Put seam location and direction on the drawing. Keep seams away from critical small lettering or smooth color fields when the face layout gives another option.
Layered colors need the same discipline. If one film overlaps another, the resulting transmitted color will differ. A double layer used to deepen color can also reduce light enough to make adjacent areas uneven. Produce a real overlap sample and identify the sequence. The wide selection presented by Rvinyl’s 3630 translucent film page reinforces why the exact code, rather than a generic family name, belongs on the job.
Prepare and apply with control
Inspect the substrate before application. Scratches, chips, stress, old adhesive, cleaner residue, and embedded dirt can become more visible after illumination. Use cleaning materials and application methods approved for both substrate and film. Control shop temperature and allow material to acclimate. Avoid touching adhesive edges and replace contaminated tools. Large faces benefit from a planned sequence and enough table support to keep the sheet from flexing.
Cut files should include weed borders, registration strategy, orientation, and a method for identifying pieces after they leave the plotter. Verify dimensions against the approved face drawing. Small scaling errors can become obvious at trim lines or panel seams. For printed work, record printer, ink, profile, mode, media lot when required, cure time, and laminate. Those details turn a successful output into a repeatable production recipe.
Inspect in transmitted and reflected light
A clean face under overhead shop lamps can still show dust, squeegee marks, overlap density, or color variation when illuminated. Inspect the completed face on a light table or representative cabinet. View from the normal distance, then examine critical edges closely. Confirm orientation, color sequence, seams, trimming, and surface condition. Photograph both day and illuminated states with consistent settings for the job record.
Cleaning and maintenance guidance should follow the exact film system. Give the owner or servicing sign company approved cleaner and method information, plus any waiting period after application. Aggressive solvents, hard edges, and pressure-washing practices can damage graphics. A replacement plan should preserve the film code, face grade, print record, and approved sample information so the next panel does not begin from visual guesswork.
Write the specification that production needs
The final callout should state substrate, film manufacturer and code, graphic method, surface orientation, layer order, seam plan, approved color sample, illumination basis, and installation instructions. It should name permitted substitutions or require a new sample when any element changes. Brand standards can include target measurements, but visual approval under controlled day and night conditions remains important for illuminated color.
A disciplined translucent-vinyl specification protects both appearance and production. Exact material codes make purchasing repeatable. A full layer schedule keeps the transmitted-light effect visible before fabrication. Samples catch color and hot-spot problems while changes are still inexpensive. When the drawing, work order, printer record, and approved face all describe the same build, an illuminated identity can remain consistent across the first cabinet and the next location.